Over the last few months, I’ve been on a quest to master the art and science of cooking steak.
Strike that. I’ve been on a quest to cook the perfect steak.
In the process, I’ve culled together pages and pages of notes — from websites, cookbooks, interviews with chefs and my own personal experiences — to put together this, a collection of easy tips that will help you cook the perfect steak.
So let’s get started. Because there’s a-grillin’ to do.
1. Buy from a butcher instead of a grocery store.

The key to any good meal is to use the best ingredients available. When it comes to meat, that means skipping the supermarket and going to a butcher shop instead. There you’ll typically find the highest quality meat available in your area, including grass-fed, hormone-free and ethically-raised options.
2. Try the ribeye steak.
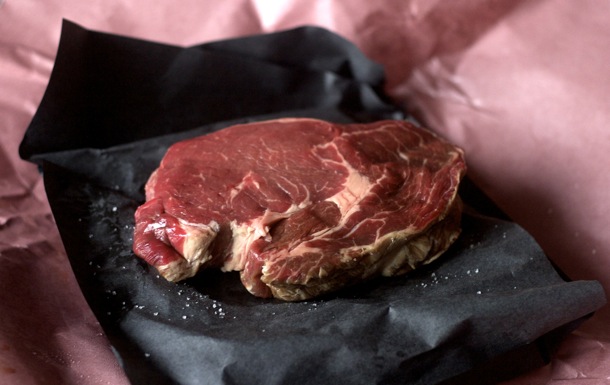
Most people tend to choose very lean cuts of beef for steak. But leaner cuts generally yield drier, blander steaks. A cut with a little extra fat and marbling, on the other hand, will simply taste better, and often with very little preparation.
Nutritionally, a little saturated fat, like that found in beef, is fine. (Beef contains over 40% monounsaturated fat anyway). You just don’t want too much of it, so trim the extra fat after cooking if you’re trying to cut back. Also, instead of going for a leaner cut, you can always just eat a smaller portion of a better tasting one.
So don’t be afraid of the fat; in fact, for a perfect steak with very little marinating, you need a cut with a little fat. Personally, I’ve found the ribeye to be the perfect cut for a great, easy-to-prepare steak.
3. Rub with a clove of fresh garlic.
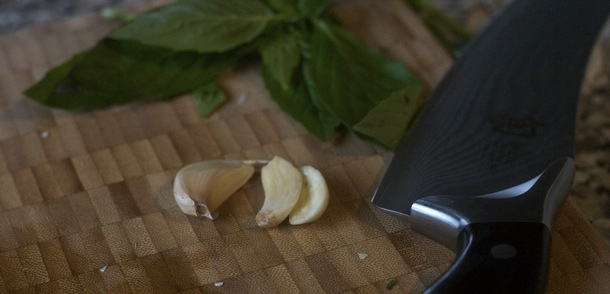
Fresh garlic makes for a quick and delicious steak rub. Slice a clove of garlic in half, and with the cut side, rub the entire steak, sides and edges.
(Bonus tip: to remove the garlic smell from your hands, wash them and rub them against the sides of your stainless steel kitchen sink.)
Don’t stop there, though. There’s more seasoning to be done.
4. Season with plenty of sea salt.
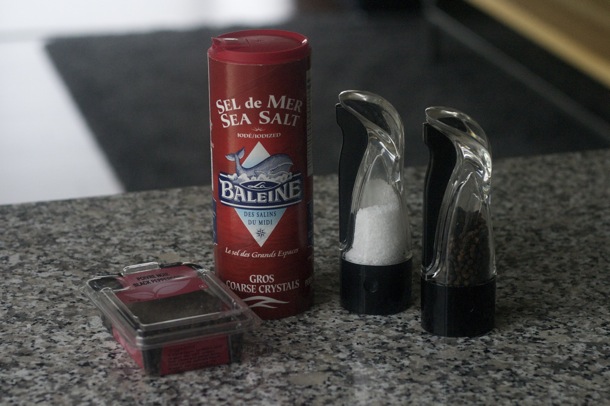
If you don’t have one already, get yourself a salt mill and a pepper mill, and fill them with sea salt crystals and whole peppercorns.
Grind out a generous amount of sea salt and fresh pepper onto both sides of the steak, enough to form a sort of light crust. Use just a little more than you think is necessary.
5. Right before cooking, freeze the steak for 45 minutes.
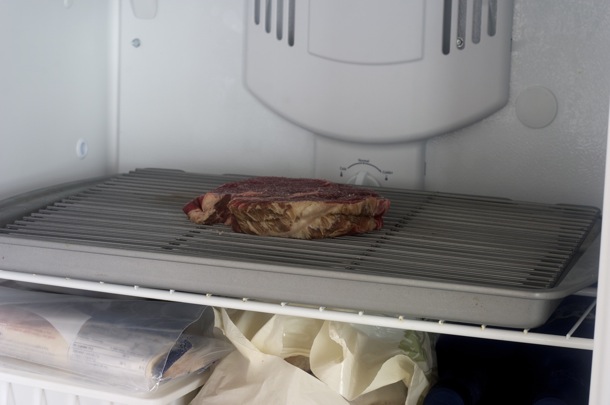
A great steak has a beautiful brown crust, usually achieved in steakhouses with commercial grills and broilers that get much hotter than anything you have at home. A quick hit on that kind of equipment rapidly evaporates surface moisture on the steak and forms the perfectly charred crust.
But with a little trick from Cook’s Illustrated magazine, you can get close. Put your freshly salted steak in the freezer unwrapped on a rack over a paper-towel lined baking sheet for 45 minutes, right before you intend to cook. Freezers are incredibly dry environments (because the moisture in them, well, freezes) and so food placed in a freezer unwrapped dries very quickly. 45 minutes is just enough to dry out the surface without freezing the steak. Any longer than an hour and the steak may start to freeze.
After 45 minutes, take it out and start to grill or pan-sear right away.
(Most chefs recommend letting the steak come to room temperature before grilling or pan frying. The thinking is that if you start with cold meat, the tendency is to burn the outside before cooking the inside to desired doneness. I’ve never found that to be a problem with the “Restaurant Method” I describe below, and in this case, it would ruin the quick-freeze effect.)
6. Use the right cooking fat.
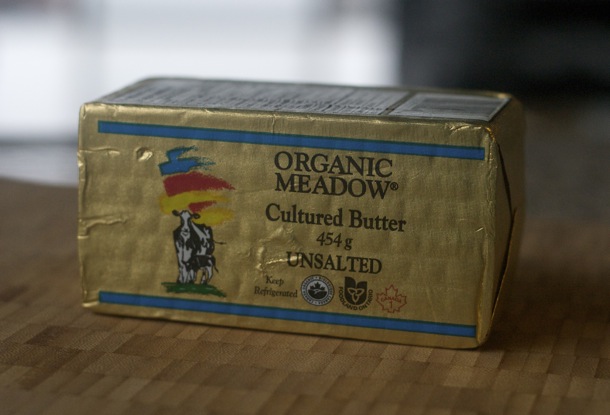
Extra virgin olive oil, while delicious, should not be used to sear steaks, because it’s too delicate and the smoke point is too low. Unless you’re trying to fumigate your kitchen or send smoke signals to distant relatives, use something more stable.
Instead, try cooking with organic butter — higher smoke point, and it’s just as tasty.
7. Use an digital meat thermometer to cook the steak perfectly.
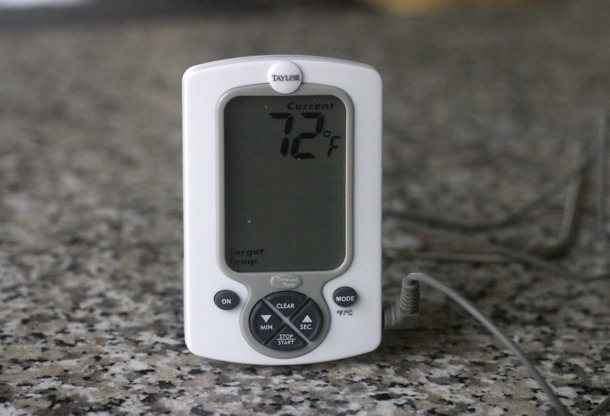
Steakhouses go to extraordinary lengths to cook steaks exactly to their customers’ desired doneness (medium rare, well done, etc.), because overdone and underdone steaks are the #1 complaint they receive. Cook the steak to the right doneness and you’re 90% of the way toward a perfect steak.
A digital meat thermometer (like this one from Amazon) is an easy way to do it precisely. (And, well, we at PN like precision.) Insert it through the edge of the steak, into the center, and make sure it doesn’t touch the fat or the pan itself.
Each level of “doneness” corresponds to an approximate internal temperature of the cooked steak. For example, a medium-rare steak should have an internal temperature of about 130 °F.
Because the interior temperature of the steak will rise even after removed from the pan or grill (see “Let the steak rest” below), remove the steak when it reaches a temperature 5 °F lower than desired doneness. For example, for medium rare, stop cooking at 125 °F. While it’s resting on a plate for 5 minutes afterward, the internal temperature will rise to 130 °F — perfect for medium rare.
Here’s a quick temperature chart for steak:
| Doneness | Desired Temp | Stop Cooking At |
|---|---|---|
| Very rare | 120 °F | 115 °F |
| Rare | 125 °F | 120 °F |
| Medium rare | 130 °F | 125 °F |
| Medium | 140 °F | 135 °F |
| Medium well | 150 °F | 145 °F |
| Well done | 165 °F | 160 °F |
My preference is to buy a great cut of meat, and cook it to medium rare with a nicely browned crust. But to each their own.
8. Try cooking your steaks using The Restaurant Method.
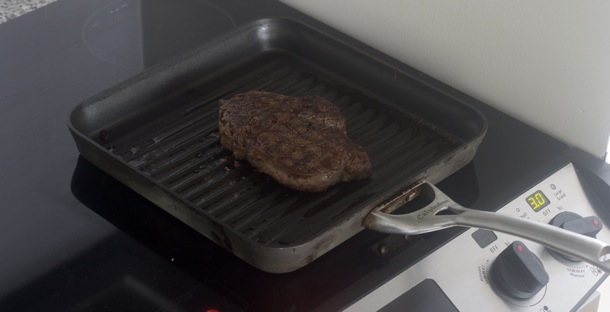
Everyone loves grilling, and of course you can get a great steak that way. But there’s another way — The Restaurant Method — and it’s a dead-simple way to get a perfectly cooked steak, indoors, year round. And that’s something that any steak lover who lives in a true four-season climate can appreciate.
The Restaurant Method is easy:
- Sear the outside of the steak in a pan.
- Roast the inside of the steak in the oven.
Here’s how to do it:
- Preheat the oven to 350 °F.
- Preheat a big pan on medium-high heat. Use a grill pan if you want char lines; otherwise any large pan will do.
- Add a tablespoon of organic butter to the pan; let it melt and swirl it around to coat the pan.
- Sear each side of the steak in the pan for 2 – 5 minutes; peek underneath to know when to flip. You want it brown but not black (i.e., burnt).
- If you like your steak rare to medium rare, you can often stop here. Just check the internal temperature of the steak with your meat thermometer (see above).
- If you like your steak medium to well done, put it in the oven on a small rack over a baking sheet lined with tinfoil to roast for another 5-15 minutes. (Again, with the meat thermometer, you’ll know exactly when to take it out.)
9. Baste with a sprig of rosemary.
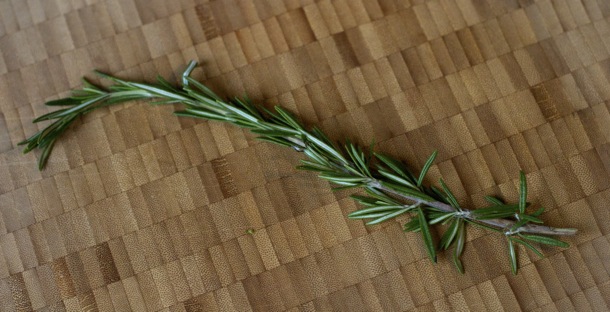
This is a little trick Jamie Oliver teaches, and yet another reason to try cooking your steaks on a pan. With a sprig of fresh rosemary, gather up the juices in the pan. Then, pat the steak all over with the sprig, essentially basting the steak. It’s an incredibly easy way to add flavor.
10. Sear the edges too.
Simple, but not too many people do it. Once both sides of the steak have been seared, use a long pair of tongs to hold the steak and sear the edges too.
11. Serve on a warmed plate.
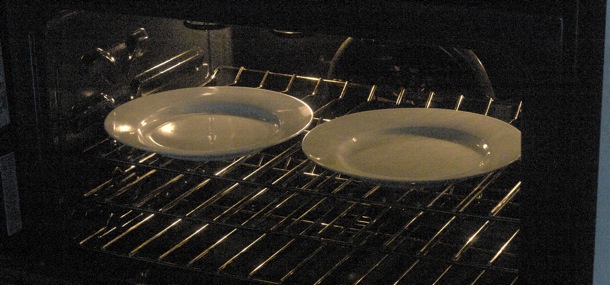
This is one of the easiest things you can do to make any hot meal taste better.
Know how the waiter at your favorite restaurant always gives you that warning, “Careful, this plate is hot”?
That’s because for warm dishes, restaurants often warm the plates too. They understand that serving food at the right temperature is one of the most important factors in your enjoyment of a meal. Put hot food on a room-temperature plate and the plate itself will cool off the food and ruin the effort you put into cooking it just right.
Easy solution? Put your plates in the oven for a few minutes. If you use The Restaurant Method (above) then your oven is already at 350 °F. Just pop your plates in for a minute right at the end.
But:
- Don’t use anything too delicate to withstand the heat, like fine china or (obviously) plastic.
- Don’t leave the plates in for more than a minute, because they’ll be scorching hot.
- Remove them with an oven mitt.
- Remember to warn your guests that the plate is hot — and heed that warning yourself!
(Note: if your dishes are microwave-safe, microwaving them on high for a minute works too.)
12. Let the steaks “rest” for 5 minutes before serving.
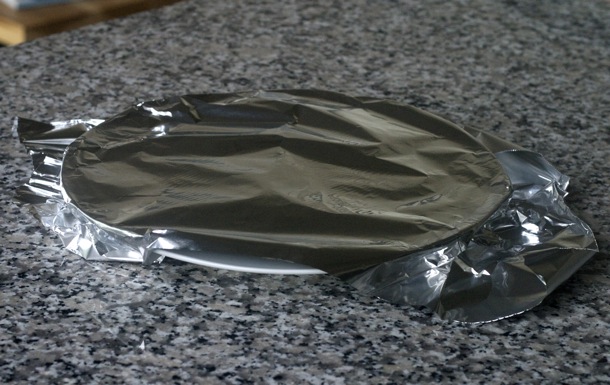
Put the steaks on the warmed plates, cover them with tin foil and let them sit — or “rest,” in chef-speak — for 5 minutes before serving. Why?
1. To let the steak come up to the desired temperature. The exterior of the steak is hotter than the interior at this point. So the outside of the steak will continue to “cook” the inside of the steak for a few minutes, even after you’ve removed the steaks from the pan or grill. That’s where you get the extra 5 °F of internal temperature from.
2. To let the juices redistribute throughout the steak. Under cooking heat, the juices in the steak are driven away from the heat (the exterior of the steak) toward the middle of the steak. By letting it rest, the juices will redistribute move evenly, back toward the edges, instead of pooling in the center. That way, the juices will still be in the meat when you take a bite, instead of leaking out onto the plate as soon as you cut into it.
13. Finish with a little extra virgin olive oil and fresh basil.
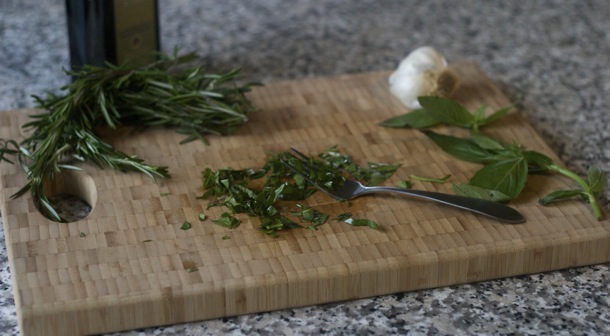
Another Jamie Oliver trick. Pour a little extra virgin olive oil over a wood cutting board. Place a few leaves of fresh basil over the oil and chop them. Then use the back of a fork to grind the basil into the oil.
Then, take your rested steak and lay it on the basil oil. Flip it so both sides of the steak get hit.
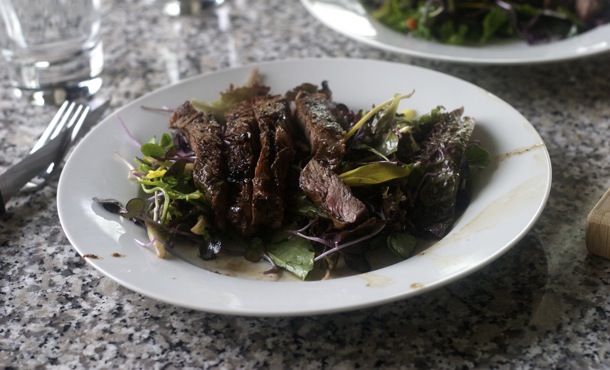
Optional: Cut the steak into strips and serve over a bed of organic mixed greens, tossed in a simple lemon vinaigrette for the perfect Anytime (AT) meal.
14. Practice.
“Remember that cooking is not an exact science; the results depend on the temperature of ingredients, the cooking equipment you use, and even the climate where you live. The more you practice, the more familiar you will become with how food reacts under certain conditions.”
— Chuck Williams, of Williams-Sonoma fame.
The only way to make a perfect meal is to practice making it again and again. Use the same cut of beef from the same butcher, the same cooking equipment, and keep trying. As long as you’re paying attention, the more you do it, the better the result will be.
Want more cooking help? Try Gourmet Nutrition: The Cookbook for the Fit Food Lover.
If you want to eat well while getting in the best shape of your life, check out our cookbook, Gourmet Nutrition. It’s the only cookbook designed specifically for the fit food lover, with over 120 Precision Nutrition approved recipes, each with detailed instructions and a full-color photo.
In fact, on page 88, you’ll find the recipe for The Perfect Steak. And there’s plenty more where that came from. For more info, and to order a copy, go to www.gourmetnutrition.com


Share